
Oct 25, 2026
How to Solder a Capacitor to Your ESC (Without Snapping the Legs)
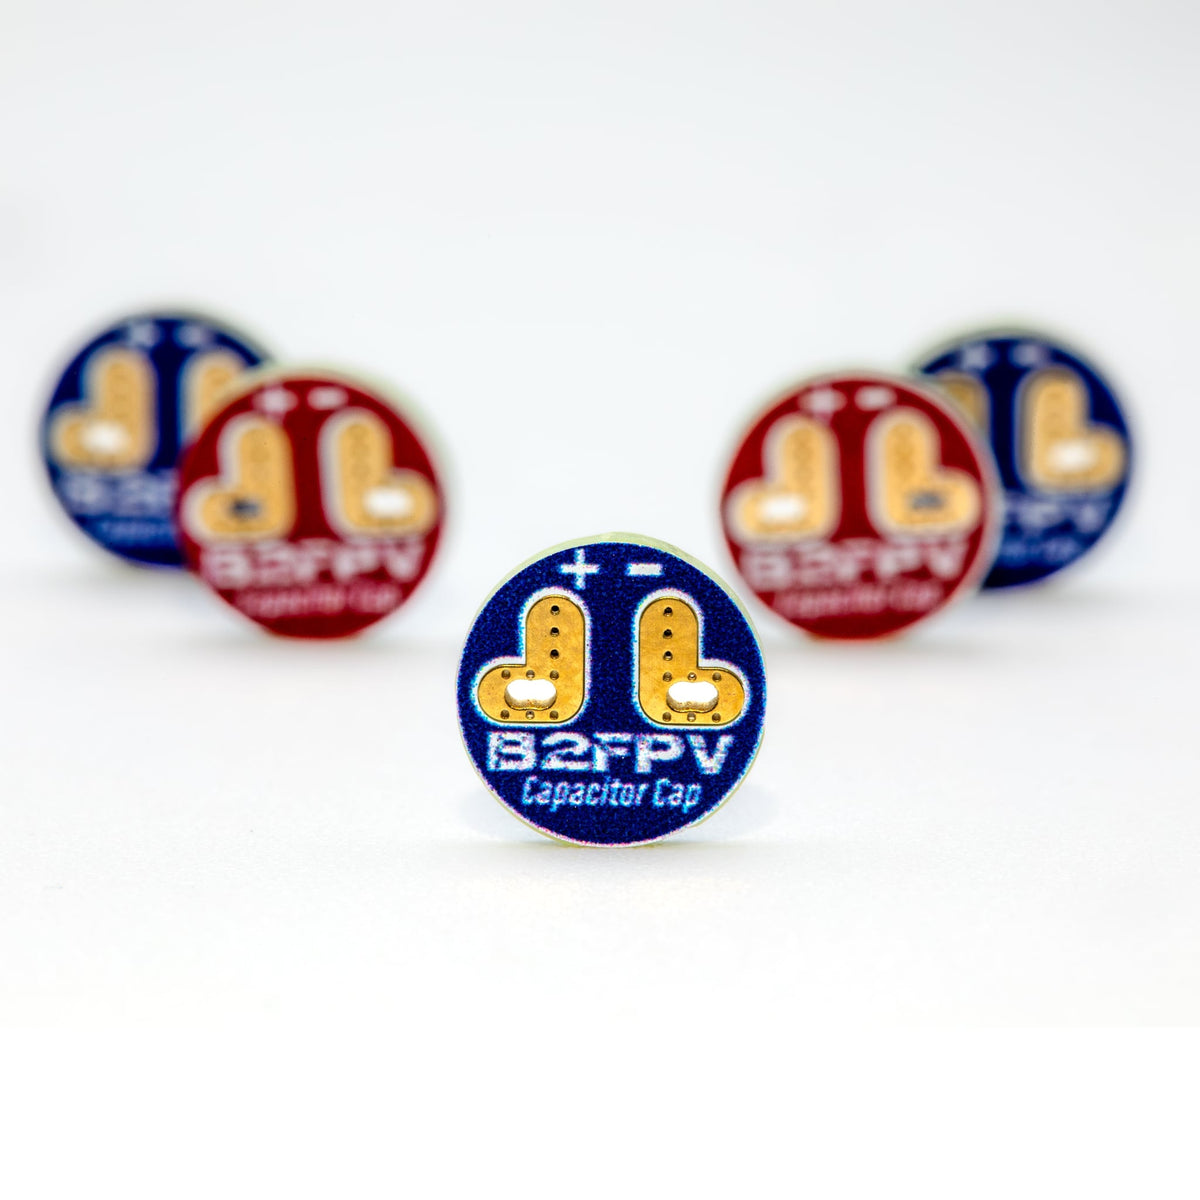
Every FPV build needs a capacitor on the ESC. And almost every beginner learns the hard way that capacitor legs love to snap — in a crash, from vibration, or just from being bent one too many times. Here's what the capacitor does, how to install it right, and how to make sure it never breaks off again.
Why your quad needs a capacitor
When your motors spin up and slow down, they create voltage spikes and electrical noise on your power lines. A low-ESR capacitor soldered across your ESC's battery pads soaks up those spikes. That protects your ESC and flight controller and cuts down on noise in your video feed.
Skip it, and you're risking a fried ESC. Don't skip it.
Picking the right capacitor
- Voltage rating: go well above your battery's max voltage. A fully charged 6S pack is 25.2V, so a 35V capacitor is the standard choice for 6S builds.
- Capacitance: most 5 inch builds use somewhere around 470µF to 1000µF. Many ESCs include one in the box — use that if you have it.
- Low ESR: look for a low-ESR electrolytic cap from a known brand.
The problem with soldering the legs straight to the ESC
The usual way is to bend the capacitor's legs and solder them directly to the ESC battery pads. It works — until it doesn't. The legs are stiff, the angles are awkward in a tight build, and every crash puts stress right where the leg meets the pad. Eventually a leg cracks, and you're back at the bench.
The fix: B2FPV Capacitor Cap
We made the B2FPV Capacitor Cap because we got tired of fixing snapped capacitor legs. It's a tiny PCB that sits on top of the capacitor. You solder the legs to the Cap once, then run flexible wires from the Cap's pads to your ESC. Flexible wire absorbs crash impact instead of transferring it to the legs.
- Crash-resistant: flexible wires bend, stiff legs snap
- Cleaner joints: proper pads to solder to, no fighting awkward angles
- Faster builds: prep the capacitor on the bench, then drop it in
- Comes 5 to a pack in a branded case
How to install it, step by step
- Unplug the battery. Always.
- Find the polarity. The stripe on the capacitor marks the negative (–) leg. The Capacitor Cap is marked + and –. Getting this backwards can destroy the capacitor, so double-check.
-
Seat the Cap. Slide the capacitor legs through the matching + and – holes so the Cap sits flat on top of the capacitor.

-
Solder the legs to the Cap and trim off the extra leg length.

-
Solder two short silicone wires to the Cap's + and – pads. Keep them short — long leads reduce how well the capacitor works.

- Solder the wires to your ESC's battery pads, + to + and – to –. You can also solder them onto your XT60 lead pads.
- Secure the capacitor with heat shrink, a zip tie, or a TPU mount so it isn't flopping around in flight.
- Use a smoke stopper the first time you plug in a battery after any soldering. It's cheap insurance.
Quick checklist before you fly
- Polarity correct (stripe = negative)
- Voltage rating comfortably above your pack (35V for 6S)
- Wires short and solder joints shiny, not dull or blobby
- Capacitor secured, not touching props or carbon edges
Need help?
Post a photo of your build in the B2FPV Facebook group — someone will look over your soldering, no judgment. New to building? Start with our Get Started guide, and check out the PZ5 frame if you're picking parts for your first 5 inch.